!o!

Monday, March 21, 2016

can't stop, won't stop


got some bars bent up by Arie Vee.  They are 6" rise.  Preunit bend and sort of a Stellings and Hellings back and down bend.   I like them.  Now to decide if they should be PC Black or Chromed.  The height seems just right.  No more big chopper bars on this mini bike.

OH, and then also took off the full size Ppad and replaced it with a Little Guy version.  I remember when I had the whole 2 car garage to myself.  that was nice space-wise.  Now, Cicero and I are cramped in 'almost' a full 1 car garage amount of space with construction equipment slowly encroaching.  Hard to beat ANY space in Brooklyn though.


Wednesday, March 2, 2016

let the sun shine down on me


Amazing Summer Winter Sunshiney Day

Real warm weather can't come soon enough.


Monday, February 22, 2016

Swinger Updates


some exciting updates.

Picked up the motor from Nick, @50el_nick on the instajams.
Cleaned up the trans back at the garage
Put both back into the frame
Swapped out the rear stock Dunlop for a Firestone ANS
Painted the dropseat rails black for now
Started modifying the genny hydraulic brake pedal to work with the cone cover
Installed the exhaust and made some slashcuts in the ends to work with the shocks
Put some 6" risers and drag bars on, in lieu of the 8" T-bars that are being widdled up by Special 79 Jay.


Friday, January 8, 2016

Tank to Frame Fitment and Today's Stance


and some fitment of the tank to the frame.  I'll be welding tabs onto the sides of the front of the tank and drilling the mount through the side of the speedo cable hole/casting section for them to bolt to the frame.  The tabs would be way too long to connect to the stock tank mounts, and I want the tank to sit a little further towards the back of the frame than most others do.

Top Casting Trim Down


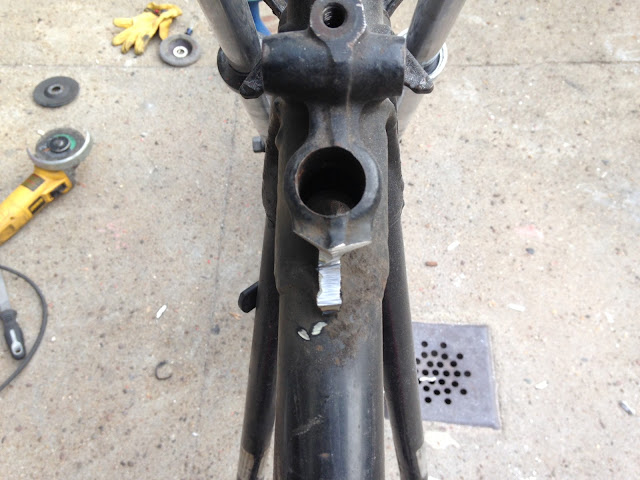
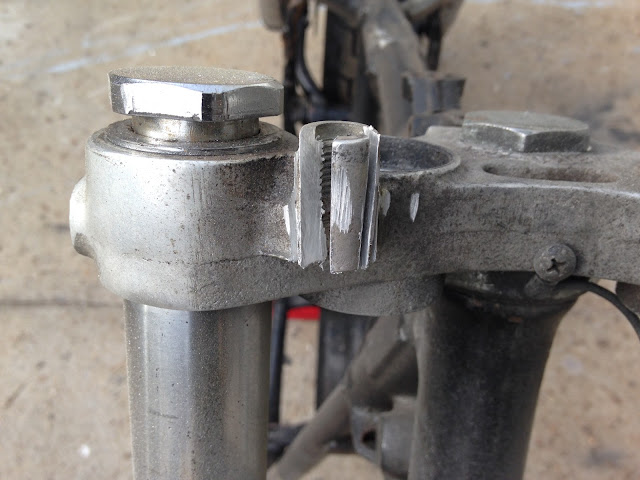
I'll be using one of Throttle Addiction's Narrow Frisco Sportster Tanks on this bike. The front tab was in the way of the speedo mount on the top casting though.  In fact, they both had to go.  So out came the grinder again.  The goal was to still leave as much of the stock parts of the casting on the frame as possible.  Metal finishing will be done later.


Tree Trimming


I usually start this the same way every time.  cut off wheel on the angle grinder and cut vertical strips out of the piece you want to remove.  then start hitting at a few different angles.  eventually, most of the pieces will start to fall off.  Then, swap over to your flap disc and start smoothing.  When the bike is torn down for paint, I'll really go fter this top tree with a sanding wheel, buffing wheel and then polish and make sure all surfaces are even.

78 Drop Seat Swingarm Build


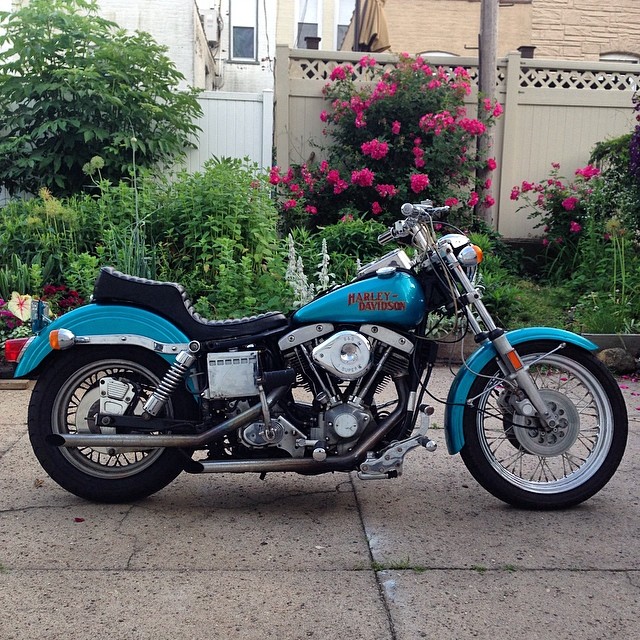
yep.  I'm back on the blog.  I really enjoyed documenting previous things on here, so this is more for me I guess.  Anyway, we are starting with what WAS my 1978 FXE Miami Vice and it will be undergoing a facelift and some major weight loss.  Stay Tuned.

Wednesday, January 6, 2016

do your homework before purchasing

Particulars and Peculiars

I saw this ad on craigslist for a stock 48-54 wishbone frame. here's the particulars:

condition: good
Make/Model: harley davidson
Model Name/Number: wishbone
size/dimensions: stock

Harley wishbone frame 48-54 original used frame.  has some tabs that are not.  can easy be removed. rake is stock.  will trade for a early stock straight leg frame for knuckle only.  frame is straight.  pick up only.  sold as is.  no scammers or time wasters.

and HERE's the pictures:


and finally, the peculiars:

top tank casting has been removed and welded back on
motor mount tab is wrong
mechanical brake crossover tube has been cut
fender crossover tube has been removed and replaced with a straight, not curved tube
lock cylinder looks bondoed over maybe in the neck?
is the right floorboard tab there?

Look, I'm not saying this isn't a legit harley frame, but it seems suspect.  anywho.  chopperz4life.

photos of my 66 by Paulo


Paulo, Joe King Speedshop, snapped these pics when he was visiting back in September '15.  This is before I swapped out the z bars for the Noise #2's.  I actually really like both looks equally.